
Most small businesses use hosting with a control panel instead of editing Nginx or Apache by hand. You upload the same certificate, private key, and intermediate files you download from MixSSL — the panel labels the fields differently but the files are the same.
Before you start
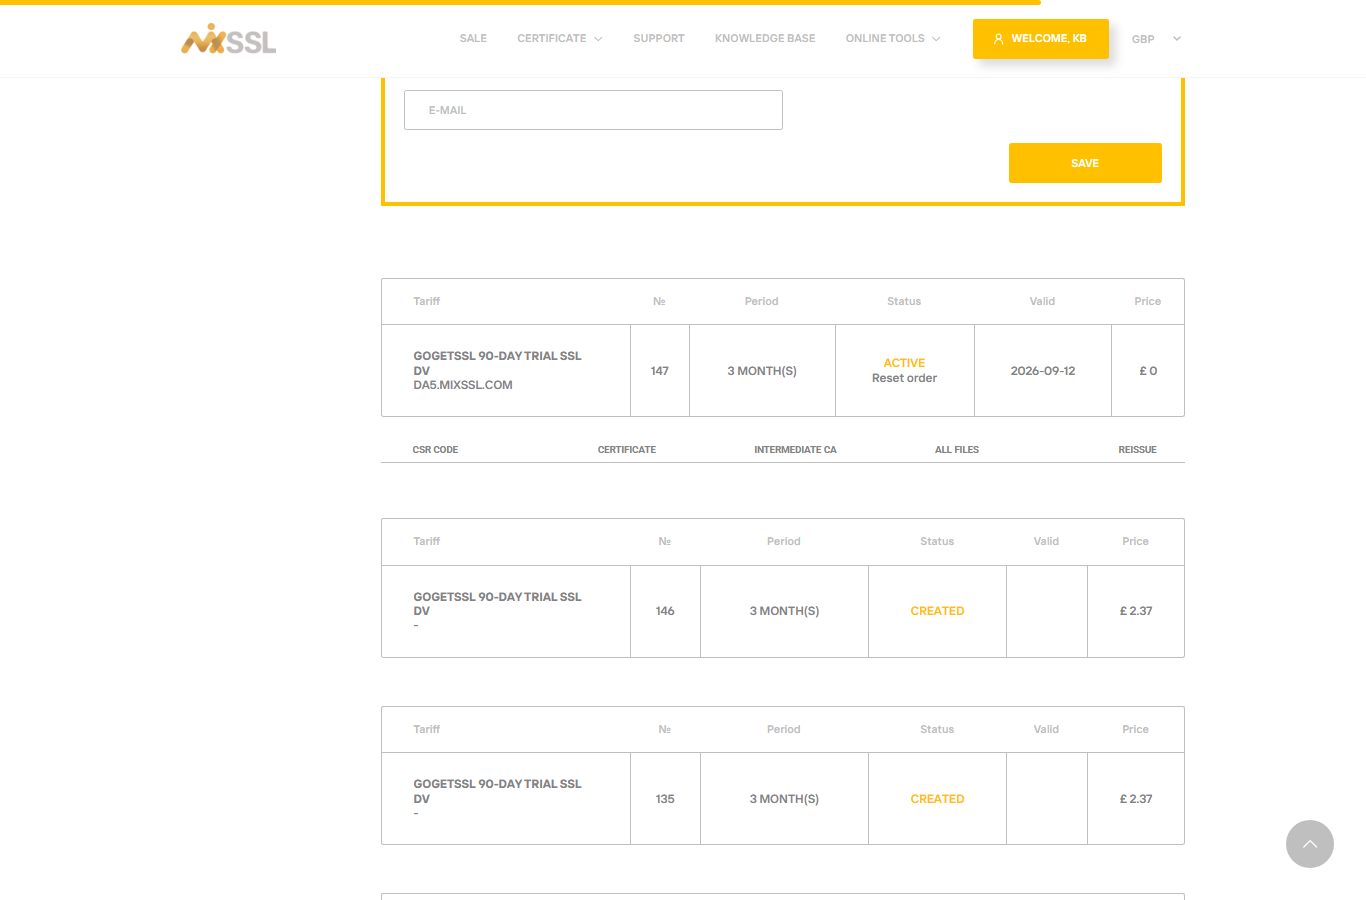
- Active order in /office with download links available.
- Your private key that matches the CSR.
- Access to your host’s SSL or Security section (cPanel, Plesk, or similar).
Step 1 — Download files from MixSSL
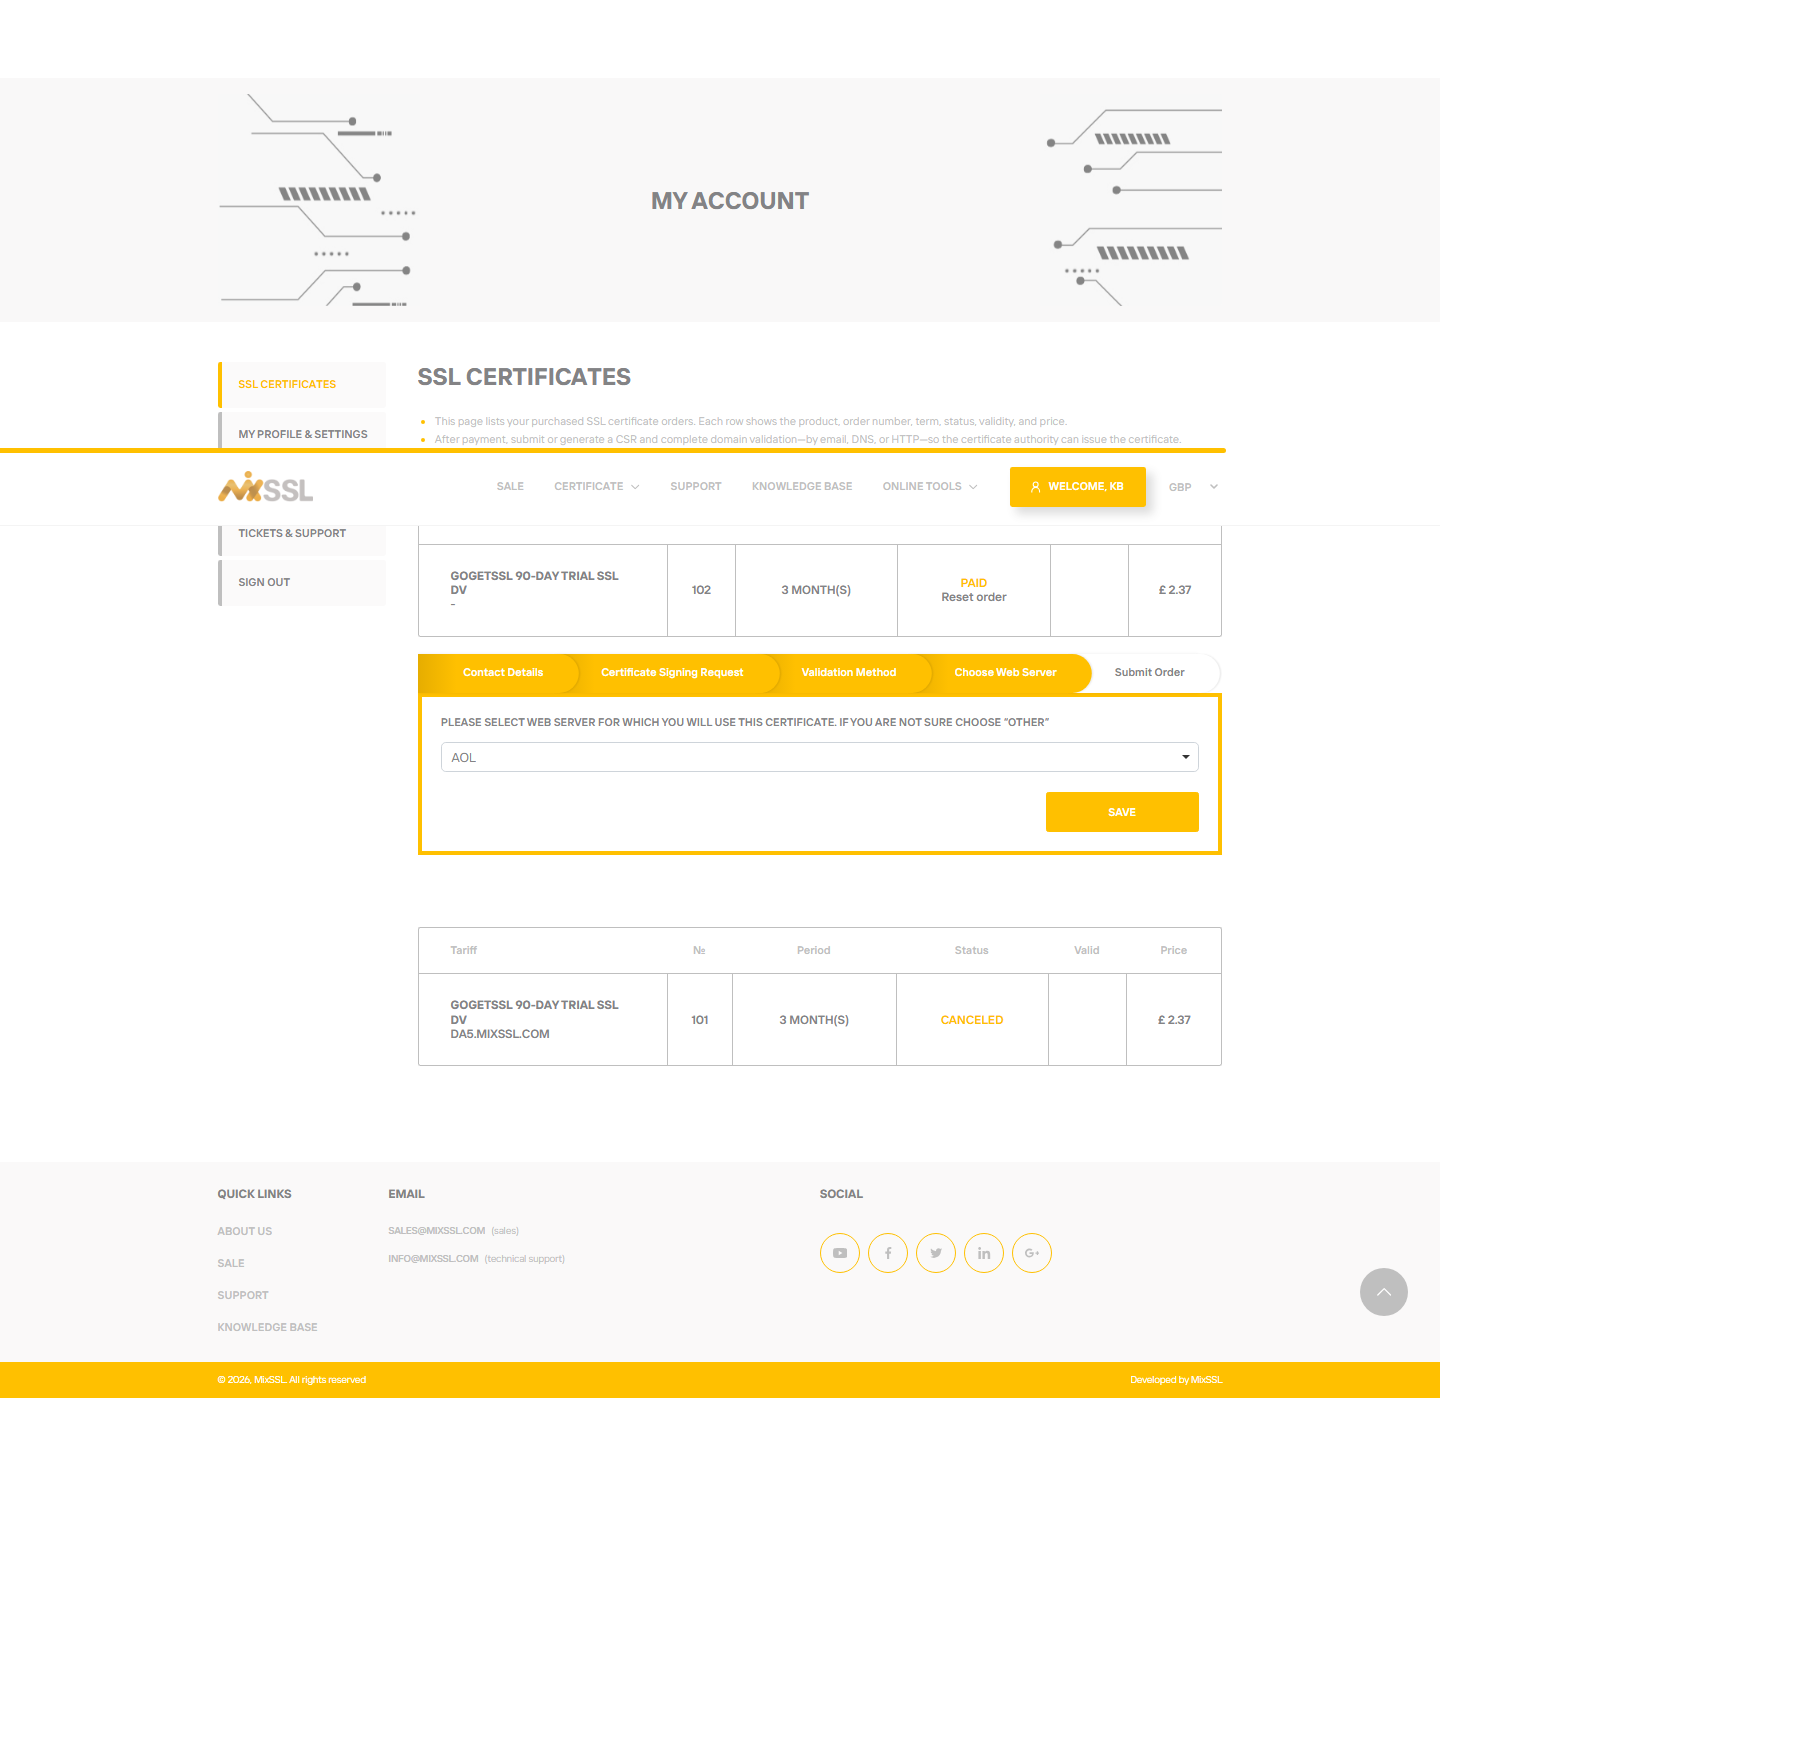
From your Active order, download the Certificate, Intermediate CA, and optionally All files ZIP. In the order wizard, pick the server type closest to your host (cPanel, Plesk, or OTHER) when the brand asks.
Step 2 — cPanel
Use SSL/TLS → Manage SSL sites or Install certificate. Paste the certificate (CRT), private key, and CA bundle (cabundle) into the matching boxes. Assign the certificate to your domain and wait a minute for the service to reload.
Step 3 — Plesk
Open the domain → SSL/TLS Certificates → upload the certificate files or import a .pfx. Enable “SSL/TLS support” and redirect HTTP to HTTPS if offered.
Step 4 — Other hosts
Look for menus named SSL, HTTPS, or Security. Order is usually: private key, certificate, then intermediate/chain. If the host only accepts one text box for the certificate, paste your certificate first, then append the intermediate certificates below it in the same field (certificate on top, intermediates below).
After saving, test in a browser. If you see errors, continue with our verification category or troubleshooting articles.
Getting help
Your host’s panel looks different from MixSSL — share a screenshot with support via the contact form if uploads fail.