These steps assume you manage Nginx yourself and have your certificate text, chain file, and private key from MixSSL. If a hosting provider runs Nginx for you, use their SSL panel and upload the same files there.
Before you start
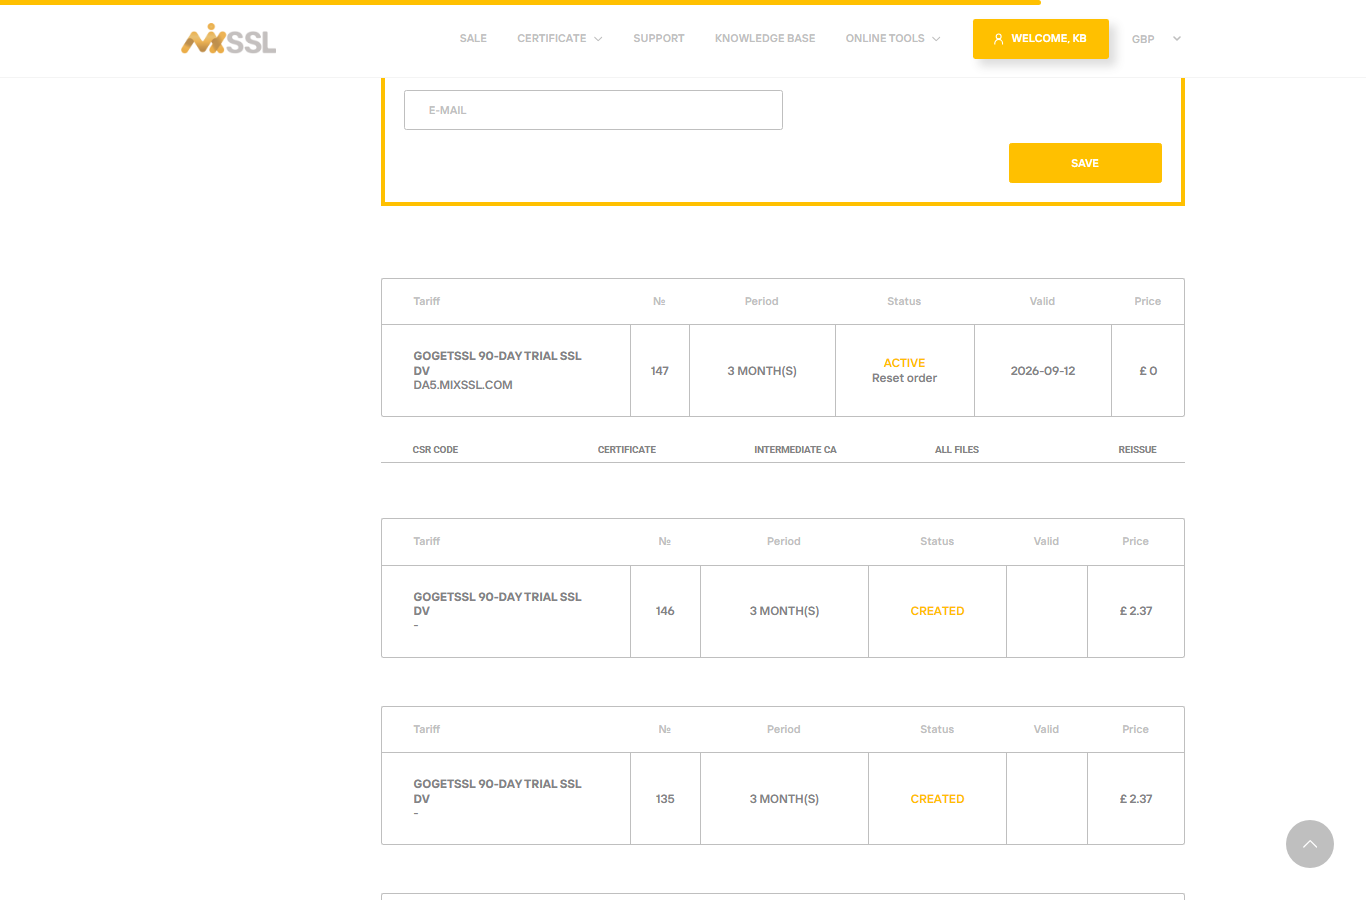
- Files downloaded from your active order in /office (certificate, intermediate CA, and your private key).
- SSH or file-manager access to the server.
- A short maintenance window to reload Nginx after changes.
Step 1 — Download files from MixSSL
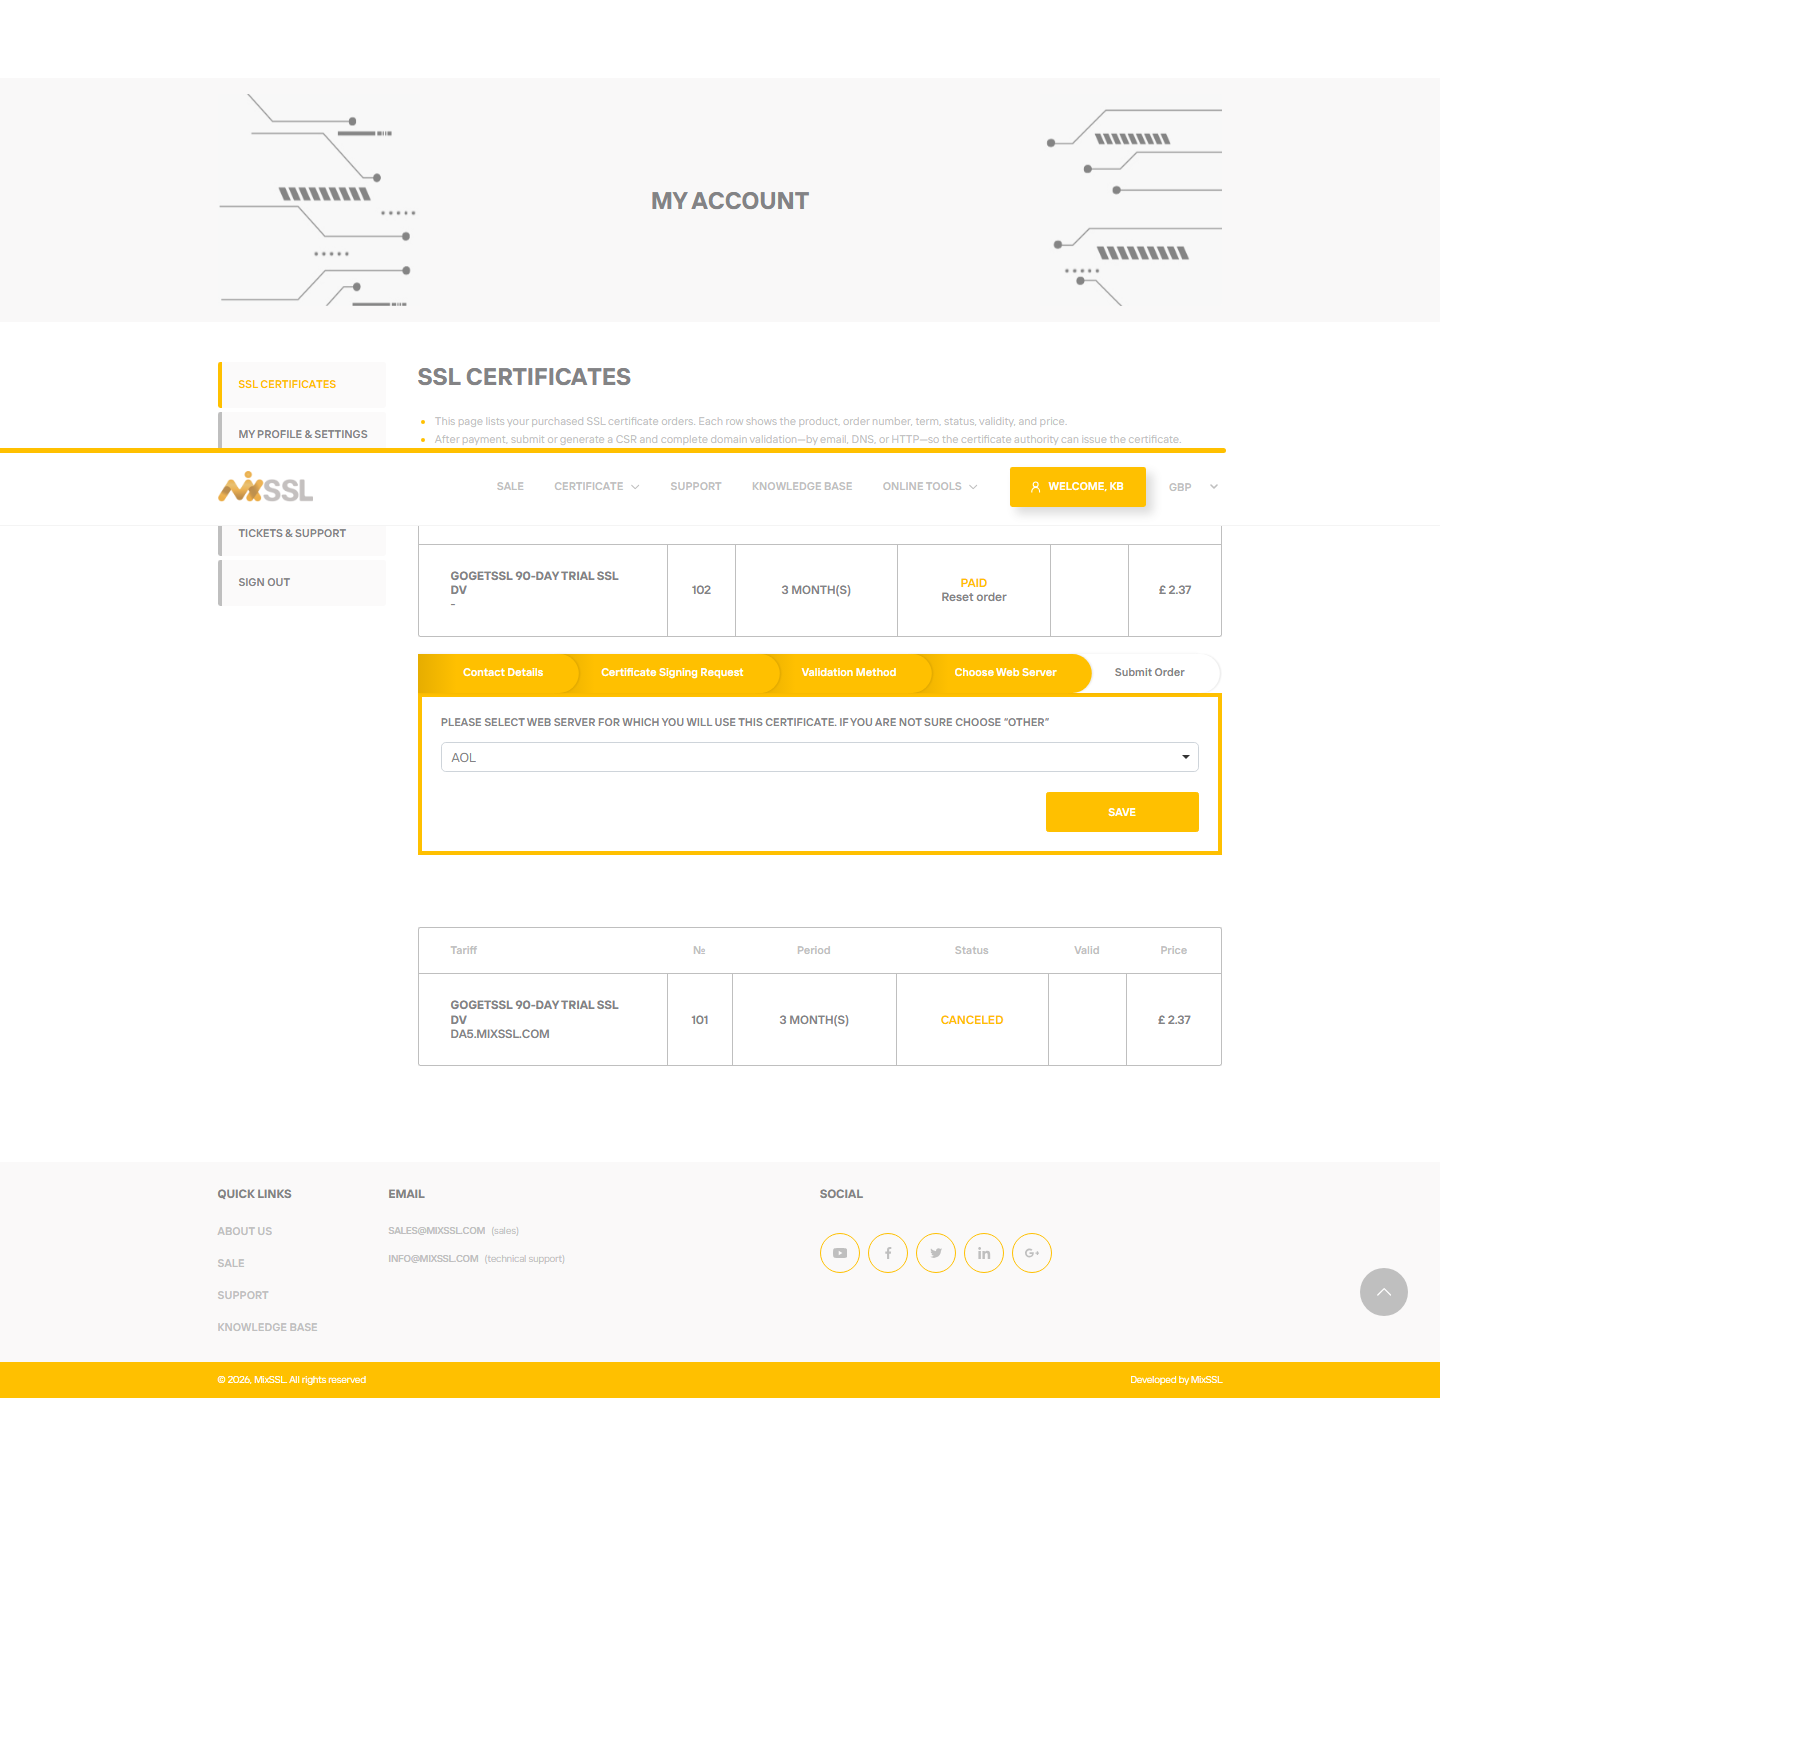
Open /office, find your Active order, and download the Certificate, Intermediate CA, and All files links. When you complete the order wizard, some brands ask which web server you use — choose Nginx so bundled formats match your stack.
Step 2 — Place files on the server
Upload the files to a directory readable by Nginx (for example /etc/ssl/example.com/). Keep the private key permissions restrictive.
Step 3 — Configure the server block
Edit your site’s server block and set:
ssl_certificate— path to your certificate (or a full chain file that includes intermediates).ssl_certificate_key— path to your private key.
Combine your certificate and intermediate into one “full chain” file if your guide recommends it, or use separate directives per your Nginx version’s documentation.
Step 4 — Test and reload
Run nginx -t to validate syntax, then reload Nginx. Open your site with https:// and confirm the padlock (see our verification articles).
Getting help
Need help matching MixSSL files to your Nginx layout? Use the contact form on the MixSSL website and include your order number.