This guide walks through a complete order on MixSSL: creating an account, buying a certificate, submitting a CSR, choosing how you will prove domain control, and downloading the issued files. Screenshots use the GoGetSSL Multi-Domain SSL product and the hostname da5.mixssl.com as a worked example — the same steps apply to other DV products and hostnames.
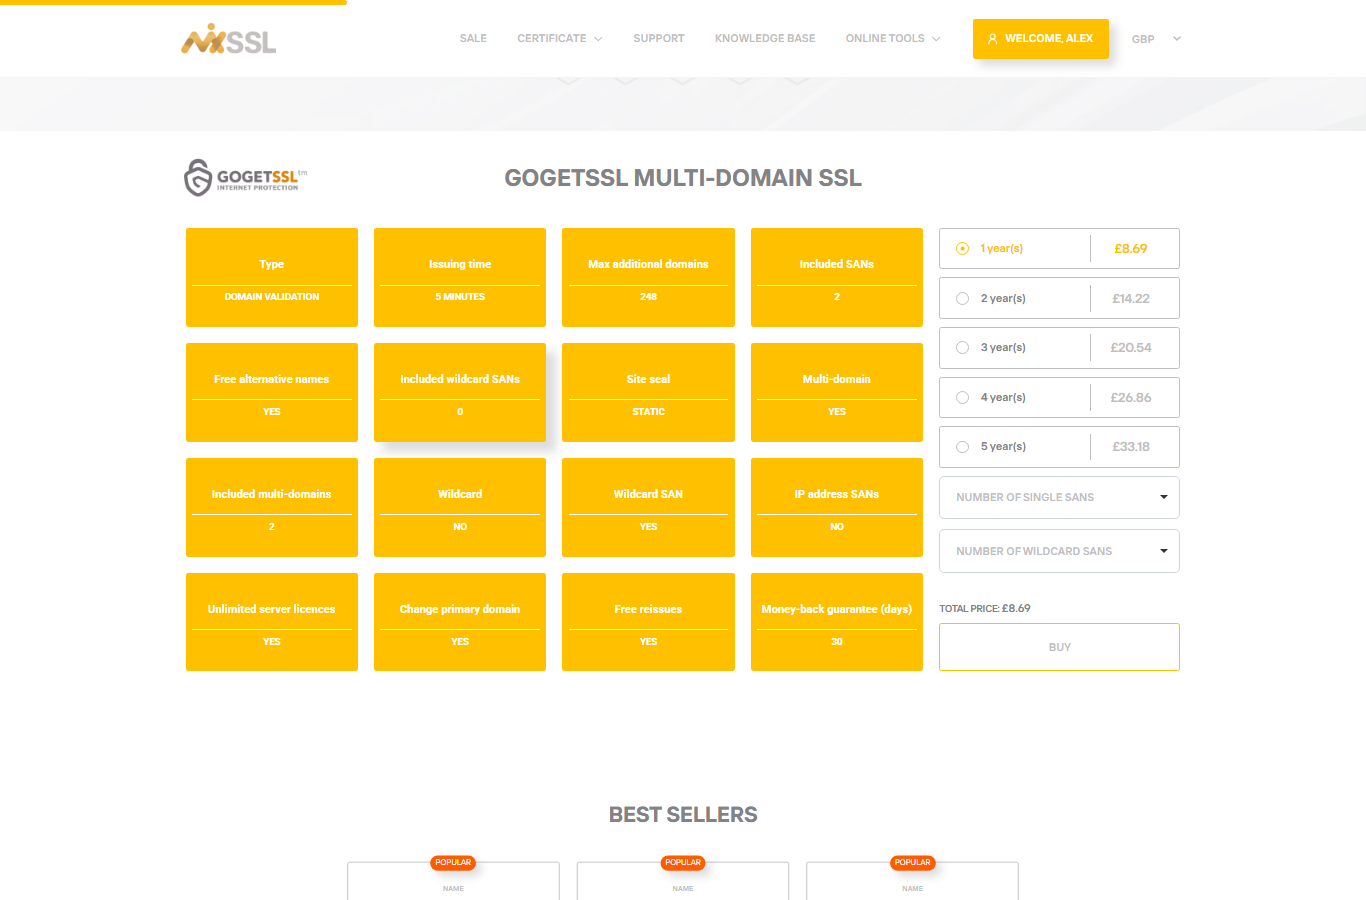
Note on term length and SANs: this product includes two domain names in the base price. On the buy page you can choose a term from one to five years. Add extra single or wildcard SANs only if you need more names than your product includes.
Before you start
- A working email address (you must verify it after registration).
- A CSR whose Common Name matches the hostname on the certificate (in our example:
da5.mixssl.com). Generate it on your server with OpenSSL, use MixSSL’s free CSR Generator, or create one during a new order — the order wizard lets you generate a CSR while you configure the certificate. - A way to complete domain validation after submit — depending on the product and what you choose in the wizard, that may be DNS, email, or HTTP/HTTPS. Have access to your DNS panel, mailbox, or web server as needed.
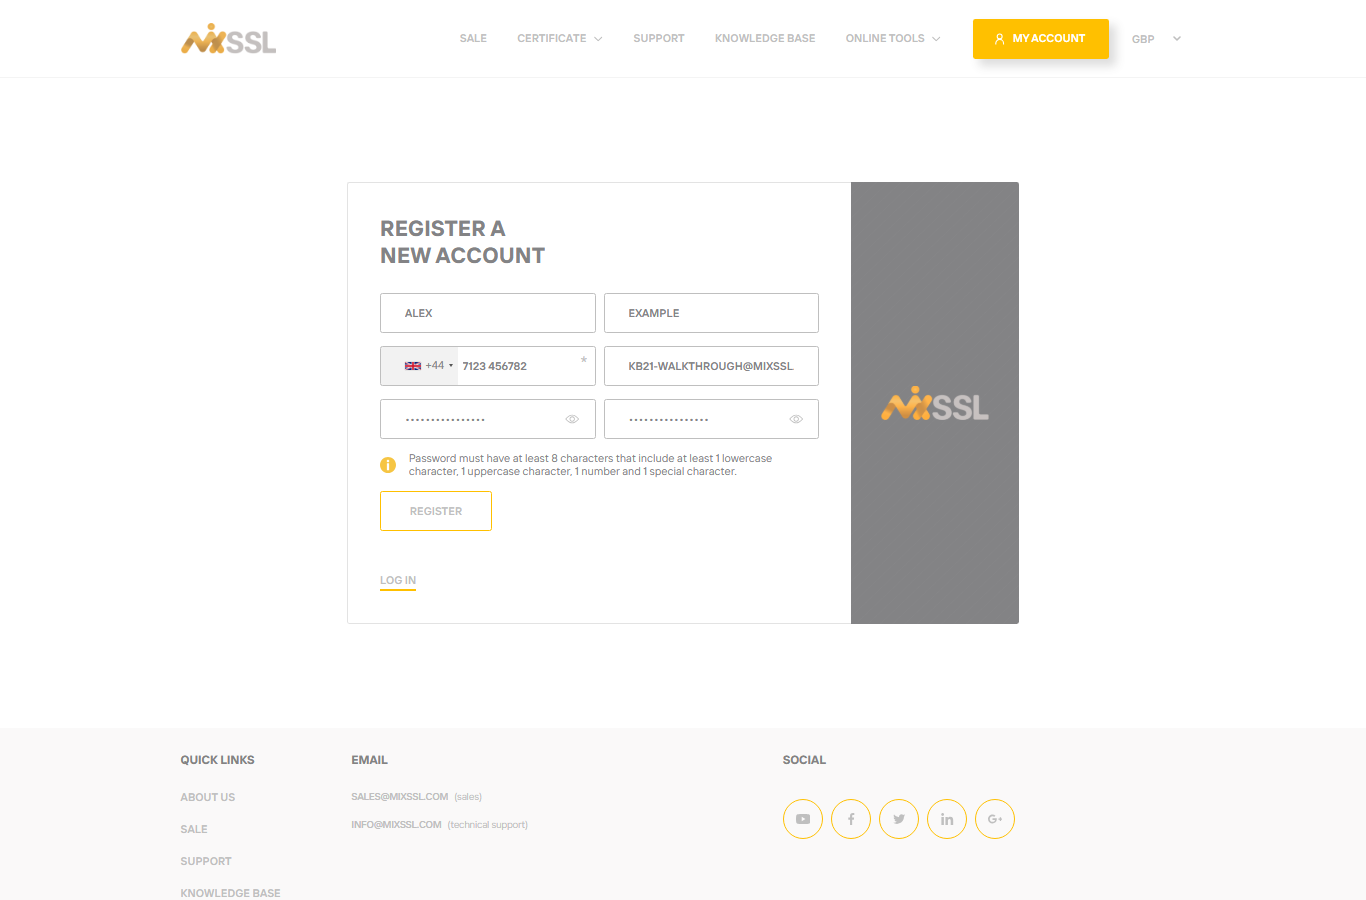
Step 1 — Create your MixSSL account
Open the registration page, enter your name, email, and password, then submit the form. MixSSL sends a verification link; you must confirm your email before buying a paid certificate.
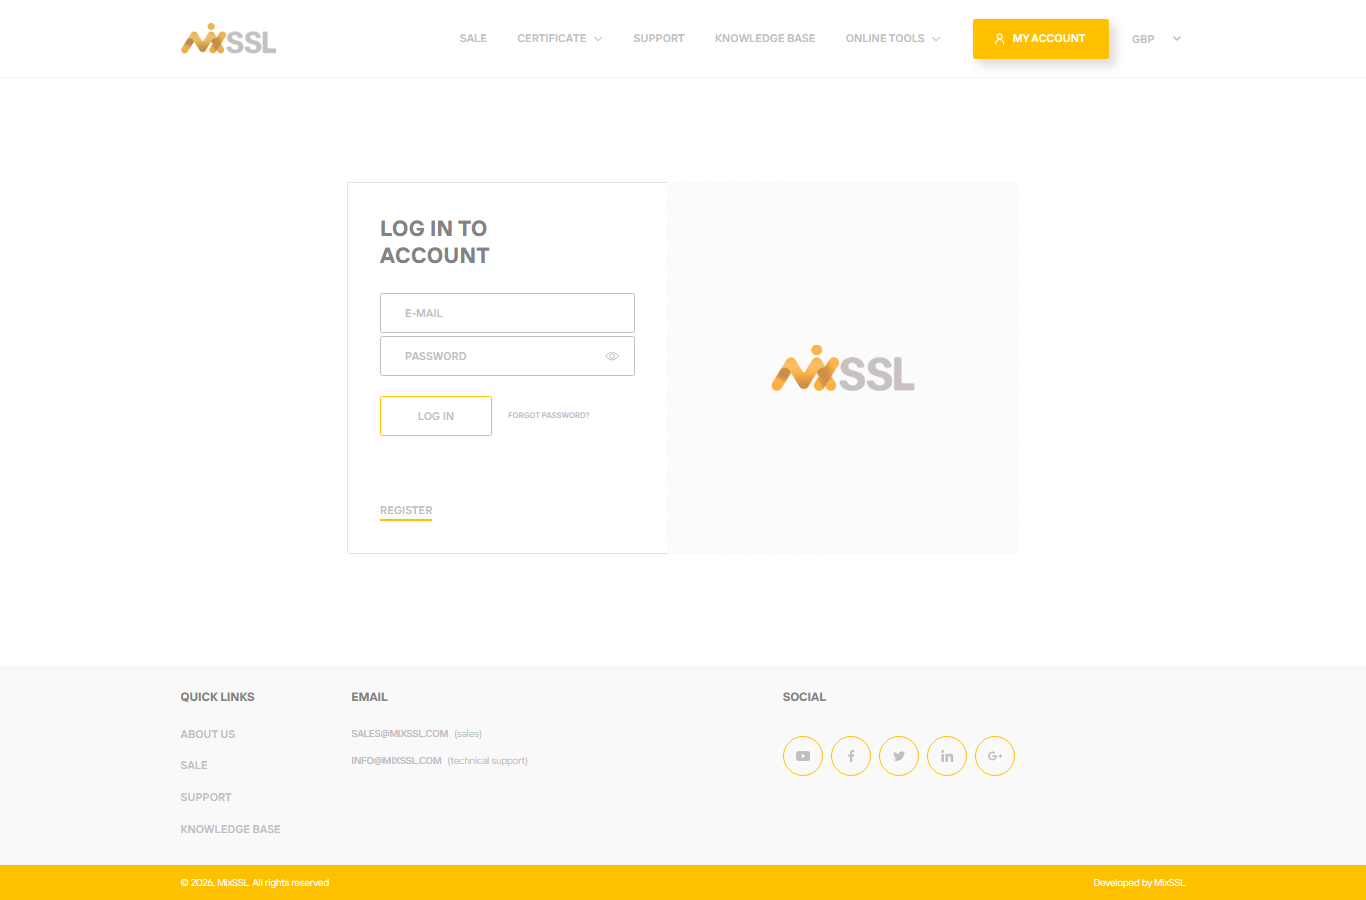
After verification, sign in on the login page.
Step 2 — Open the certificate product and start checkout
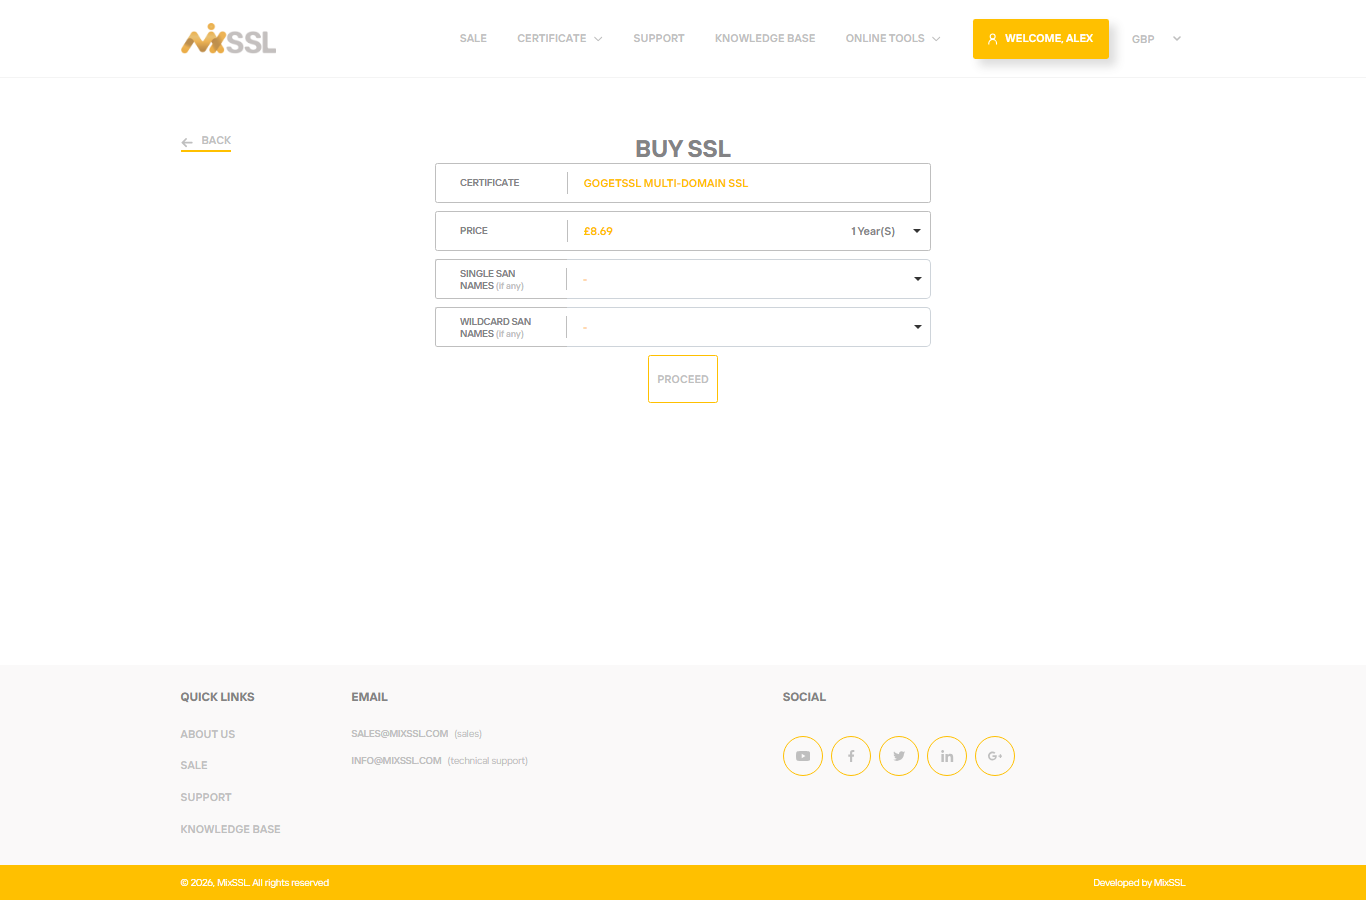
Go to the product page for the certificate you want, then click Buy to open the order form.
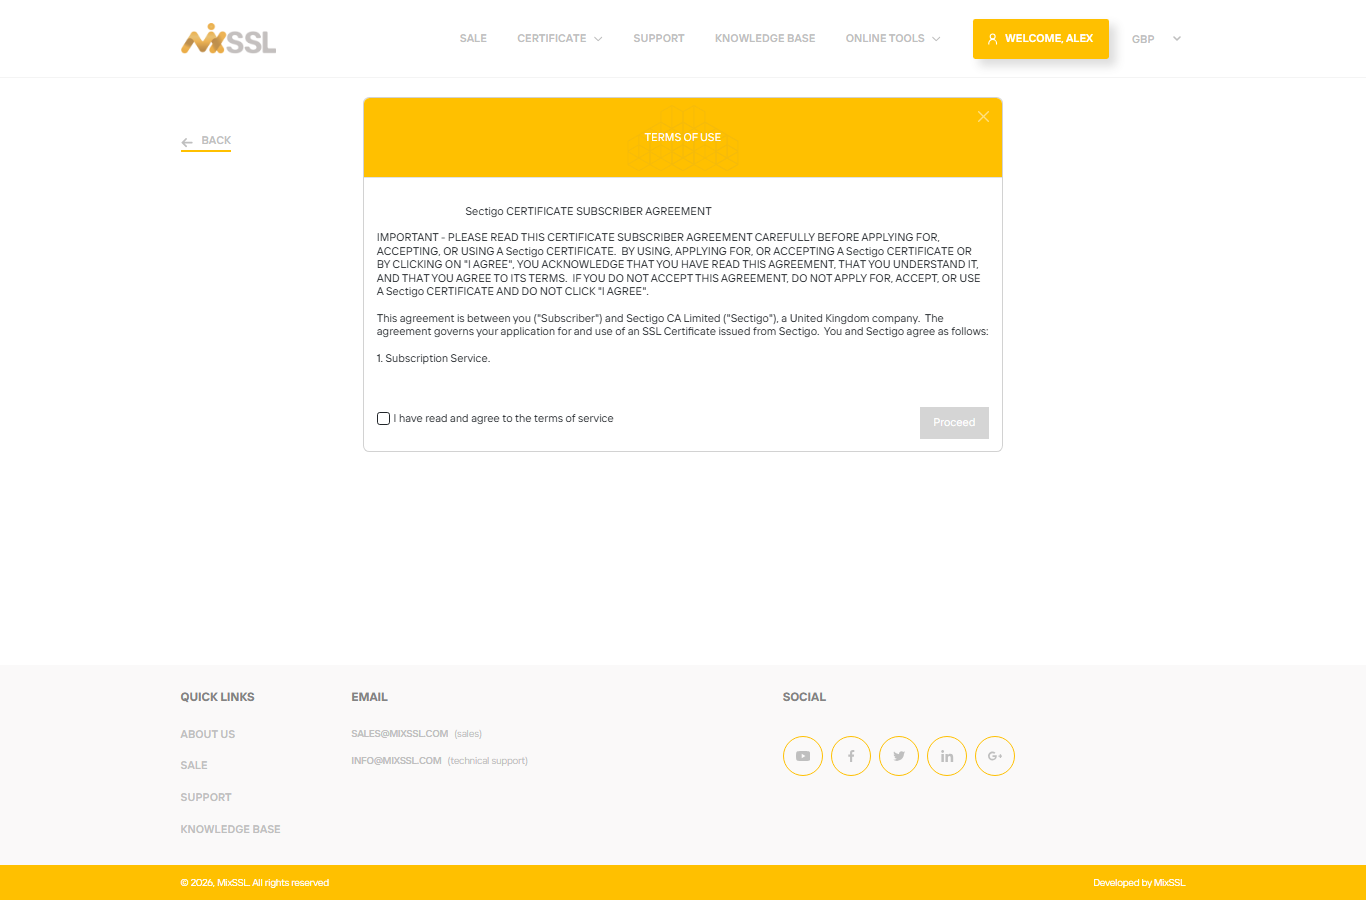
On the buy form, choose the term, set additional domain names if your product requires them, accept the subscriber agreement, and click Proceed.
Step 3 — Pay for the order
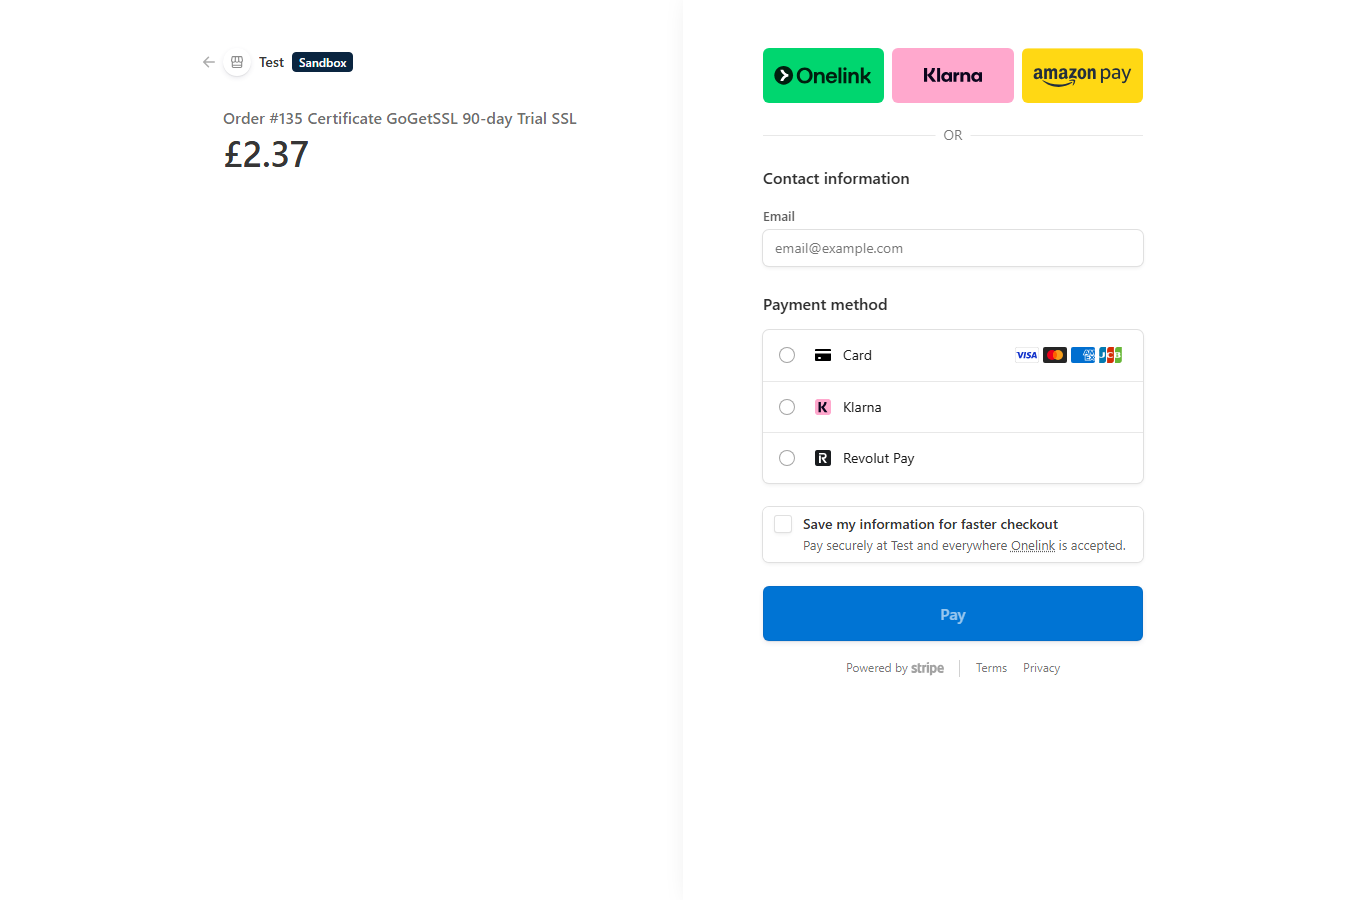
MixSSL opens secure card checkout (Stripe). When payment succeeds you return to MixSSL and the order appears in your account with status Paid.
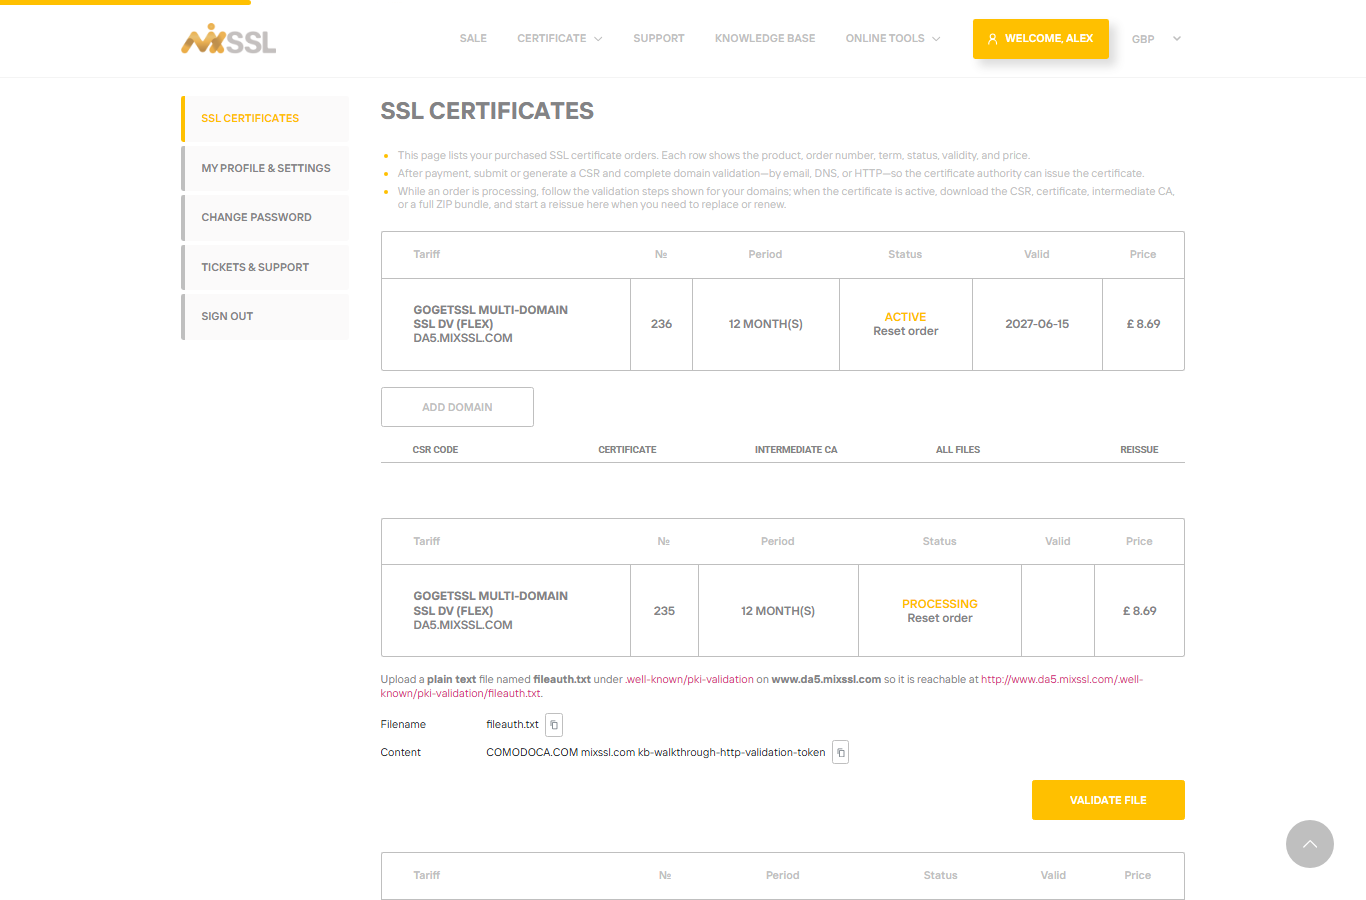
Open My account → SSL Certificates (/office). Your new order is listed at the top; below it you will see the configuration wizard.

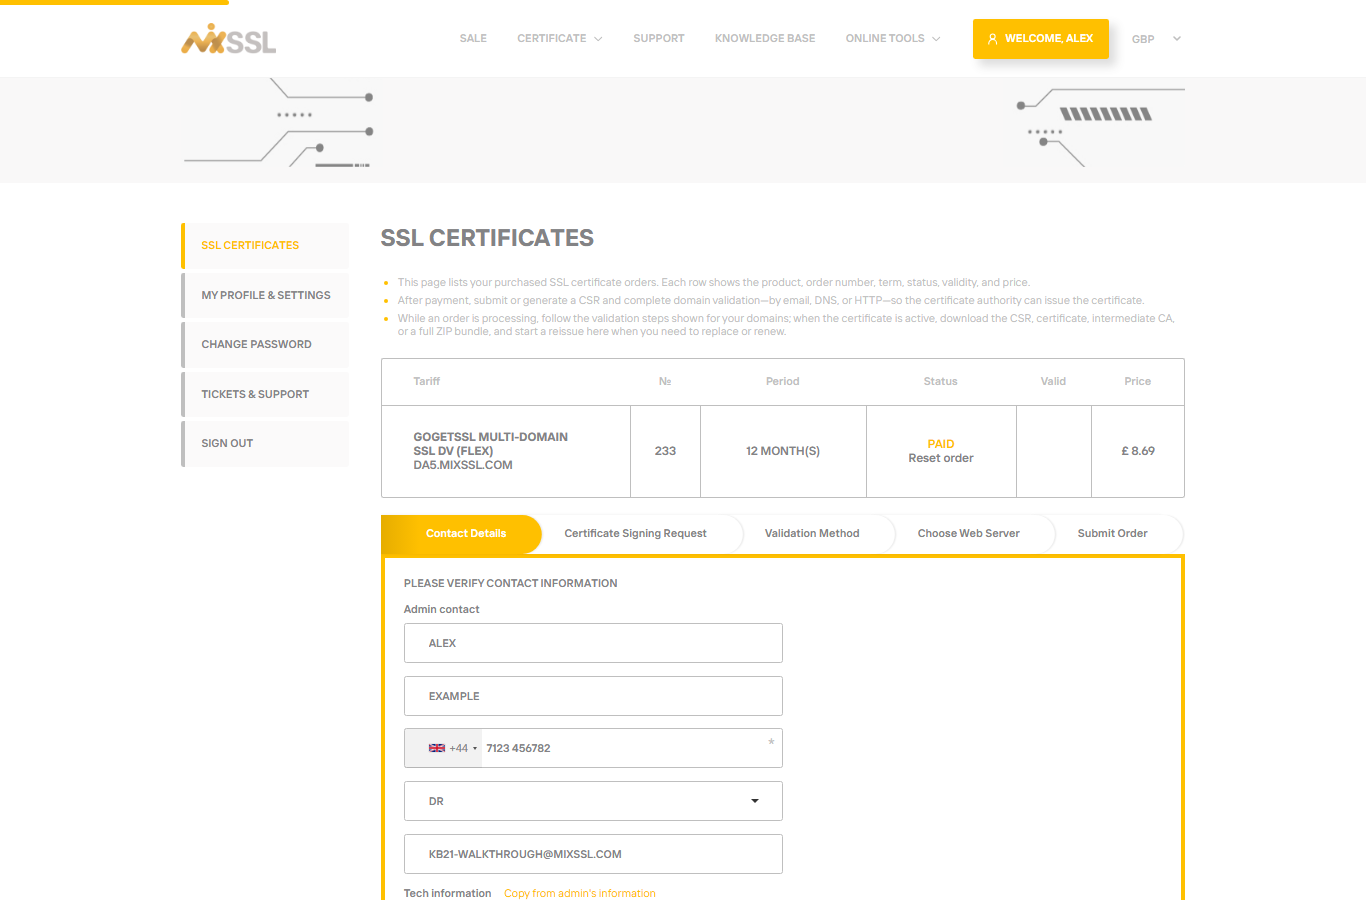
Step 4 — Contact details
The first wizard tab is Contact Details. The certificate authority needs administrative and technical contacts. Use Copy from admin’s information to fill the tech section quickly if it applies. Click Save when every required field is valid — the wizard then moves to the CSR step.

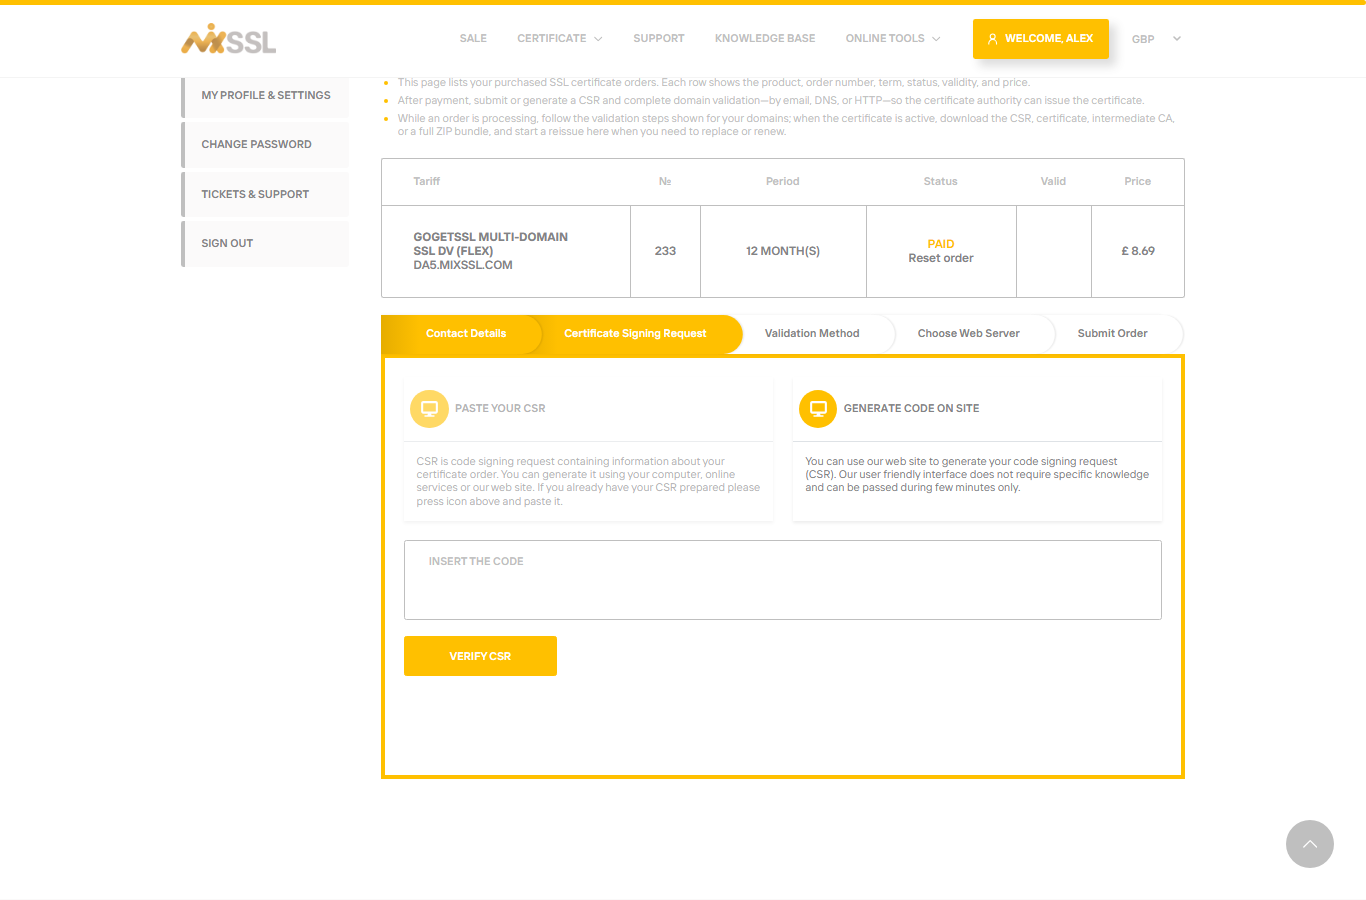
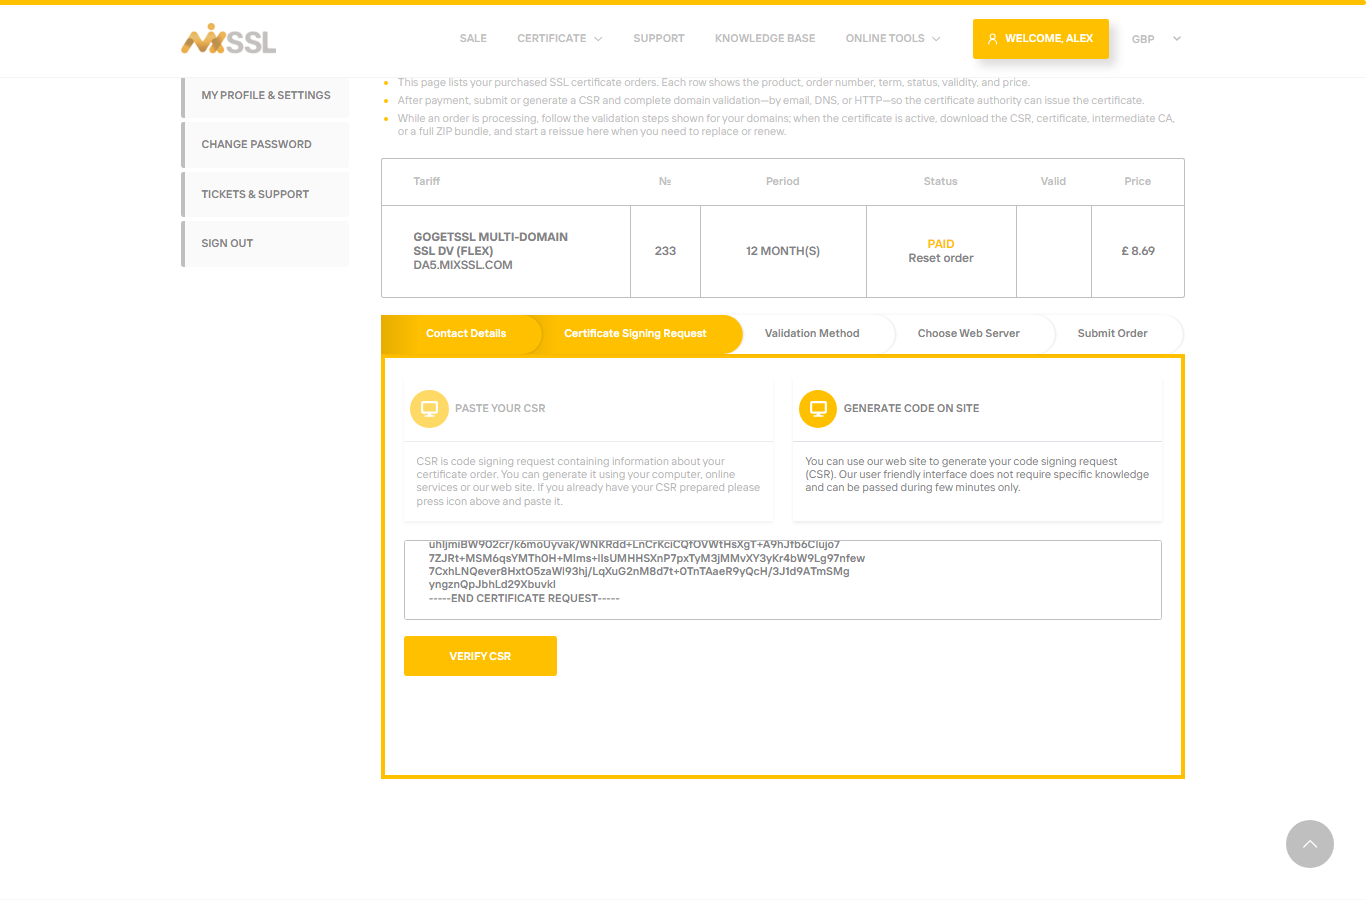
Step 5 — Paste and verify your CSR
Click Paste your CSR, paste the complete CSR text (including the -----BEGIN CERTIFICATE REQUEST----- and -----END CERTIFICATE REQUEST----- lines), then click Verify CSR. MixSSL checks the common name, key size, and product rules. In the confirmation pop-up, check that Common Name is the hostname you intend (here da5.mixssl.com), then click Confirm.
If you do not have a CSR yet, use Generate CSR in the same step — MixSSL creates the request and matching private key for you to download and store safely.

da5.mixssl.com) before you continue.
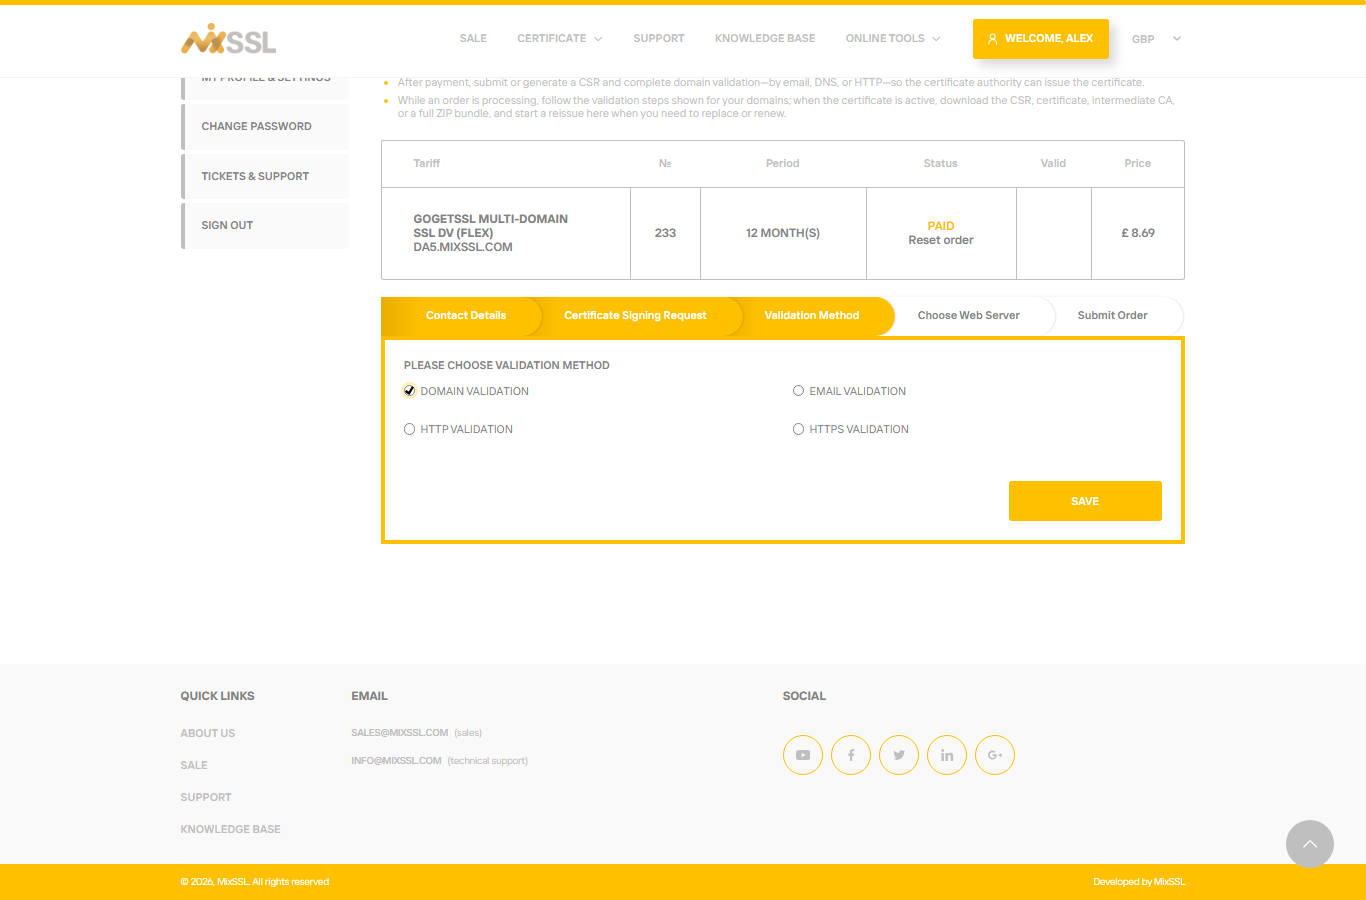
Step 6 — Choose a validation method
On Validation Method, pick how you will prove you control the domain. Available options depend on the certificate brand and your CSR (for example wildcard or IP SANs may disable some methods):
- Domain Validation — add a DNS record (TXT or CNAME) at your DNS host.
- Email Validation — approve mail sent to a standard administrative address for the domain.
- HTTP Validation — place a small file on your website.
- HTTPS Validation — same as HTTP, over HTTPS (not offered on all products).
Choose the method that fits your setup, then click Save.
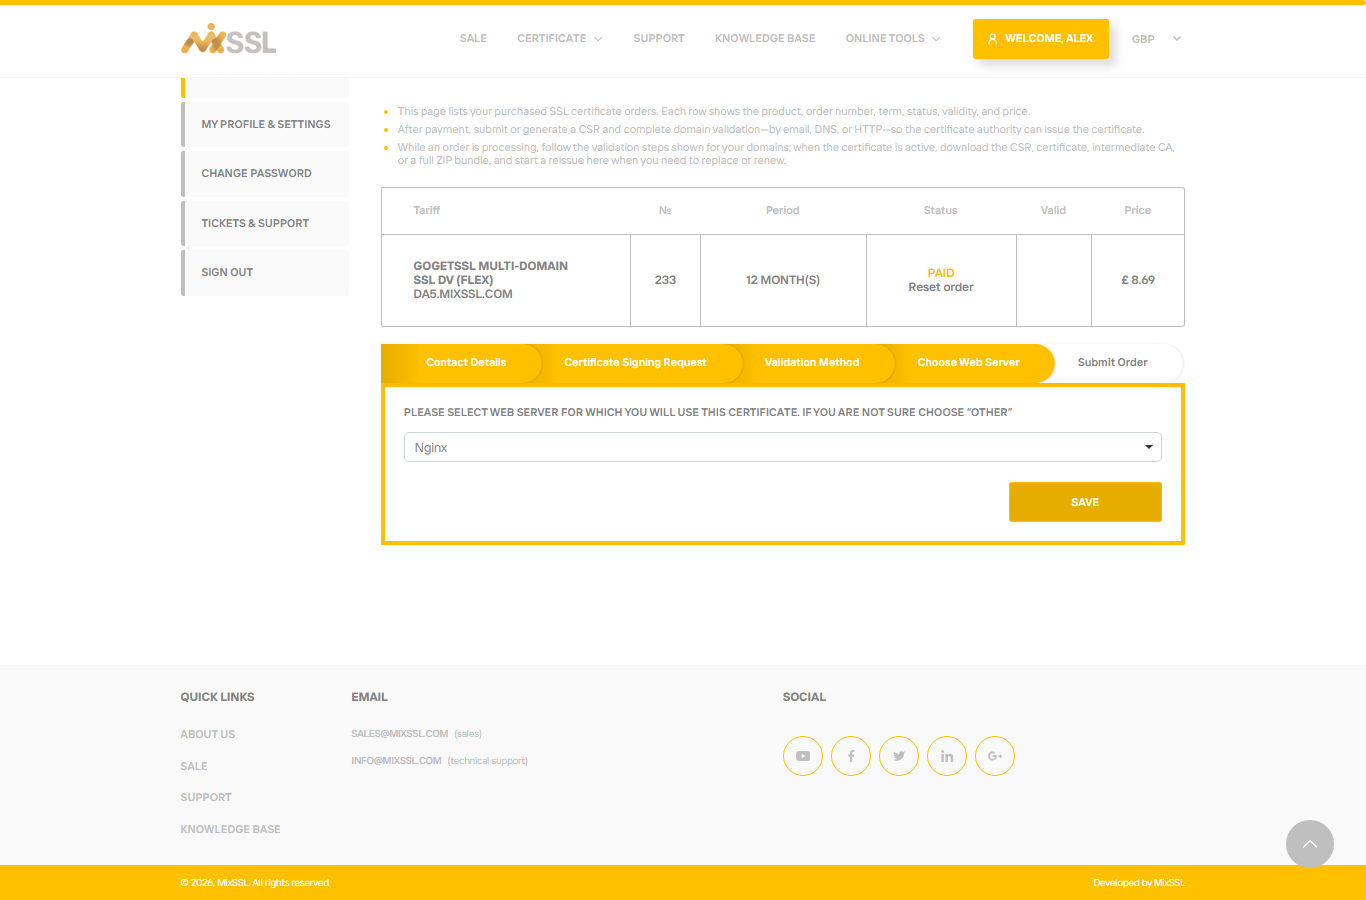
Step 7 — Choose your web server (GoGetSSL and some other brands)
Some brands ask which web server or platform you use so the authority can format the bundle. Open the dropdown and select your server — or OTHER if you are unsure. Click Save. (Let's Encrypt orders through MixSSL skip this step.)
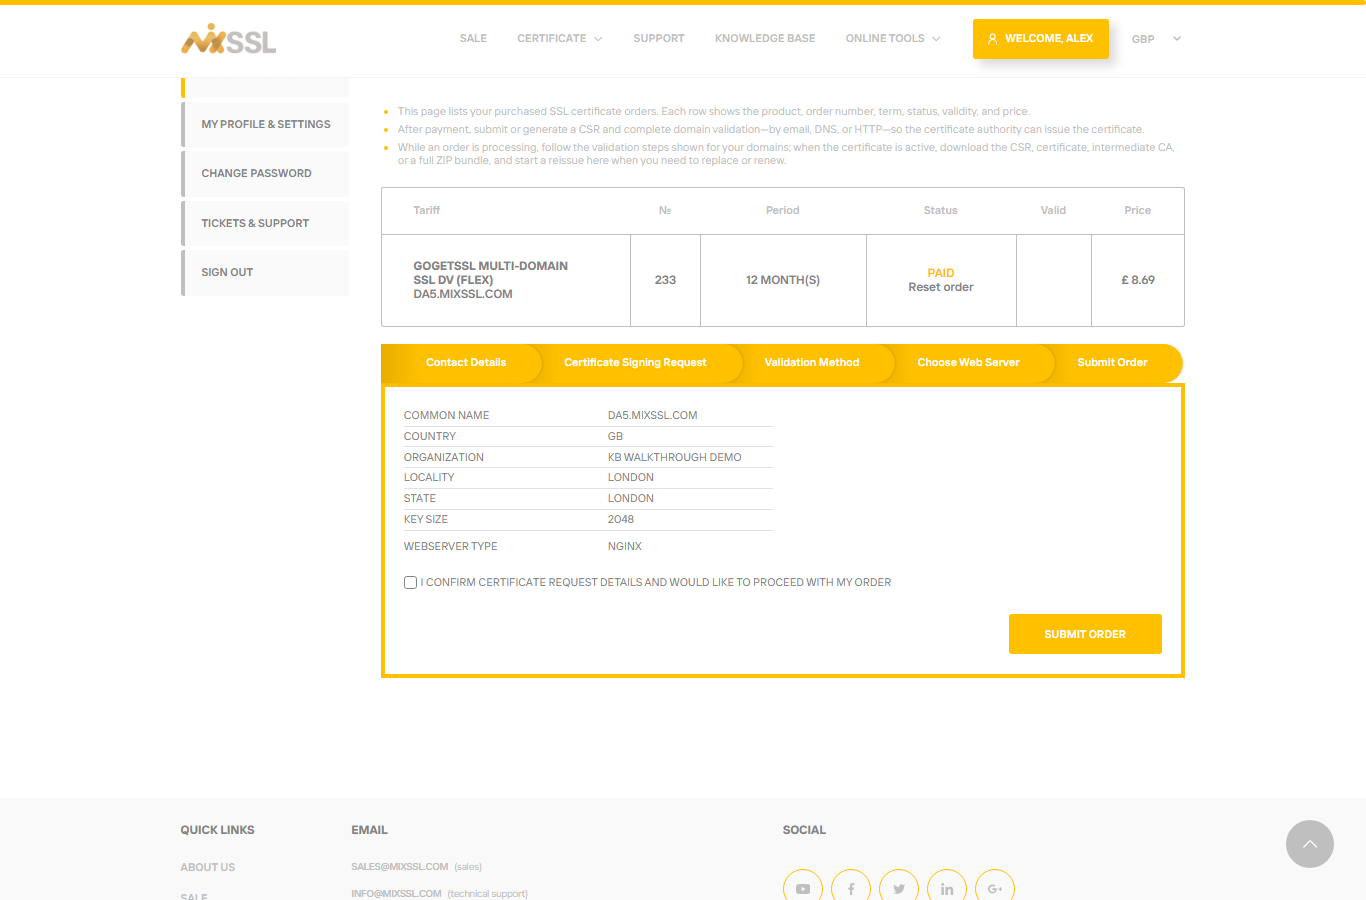
Step 8 — Submit the order to the certificate authority
On Submit Order, review the summary, tick any required confirmation, and click Submit Order. MixSSL sends the request to the authority. The order status changes to Processing and validation instructions appear on the same page.

Step 9 — Complete domain validation
What you do next depends on the method you chose in Step 6:
- DNS — MixSSL shows the exact record name, type, and value. Add them at your DNS provider (registrar, hosting panel, or any DNS host you use). When the record has propagated, use Validate DNS on the order page if the button is shown.
- Email — Open the approval message sent to the address you selected and follow the link in the email.
- HTTP / HTTPS — Upload the file or content MixSSL displays so it is reachable at the URL shown. Copy the file content exactly as shown — line breaks must be preserved where MixSSL displays them.
Example (HTTP validation for GoGetSSL):
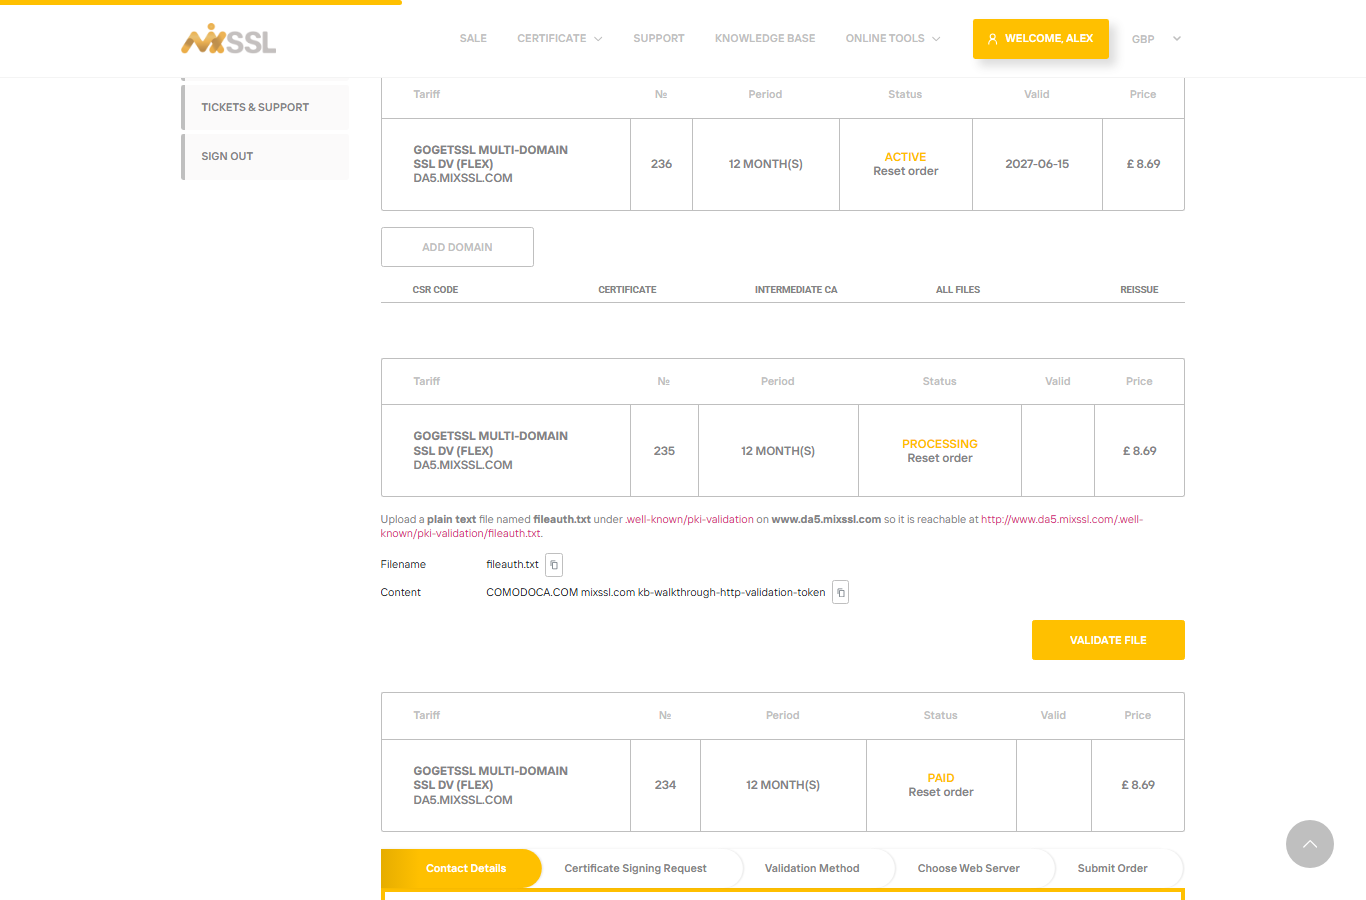
After the authority accepts validation, the order moves toward issuance — often within about an hour in normal cases, up to one day in the worst case.
Step 10 — Download your certificate files
When the certificate is issued, the order status becomes Active and download links appear under the order:
- CSR code — the signing request you submitted (for your records).
- Certificate — your issued certificate file.
- Intermediate CA — chain / intermediate certificate(s) needed for browsers to trust your site.
- All files — a ZIP bundle with the certificate, intermediates, and related files ready for installation.
Install the files according to your web server or platform documentation — combine the certificate and intermediate chain as your stack requires.
Troubleshooting
- CSR verify fails — the common name must match the hostname on the order and you need at least 2048-bit RSA unless the product allows otherwise. Verification can also fail if the CSR does not match the terms of the certificate you purchased (for example missing SANs when the product covers additional names, or a wildcard CSR on a single-domain product) or if the CSR is not properly formatted (incomplete text, missing BEGIN/END lines, extra characters, or corrupted line breaks).
- DNS validation does not pass — double-check record type (CNAME vs TXT), spelling, and TTL/proxy settings at your DNS host. Wait for propagation and try Validate DNS again.
- Email validation — check spam folders and that you selected an address you can read.
- HTTP validation — confirm the file is plain text, at the exact path shown, and reachable without redirects to another host. Paste or save the file content with the same line breaks MixSSL displays — a single long line when the instructions show several lines will fail validation.
- Processing for a long time — refresh /office; contact support via the website form if the order is stuck more than 24 hours.
Support is available through the contact form on the website.